Showing posts with label Birthday. Show all posts

Sunday, January 15, 2012

Favorite Things Birthday Banner!

Today is my husband's birthday and our cute little kids really wanted to decorate his birthday cake with all of his favorite things (Blazers, Tim Tebow, Boise State Football etc. . .). However, he doesn't really like cake and will be having pie for his birthday so I directed them to make a banner instead.


So they got to work finding and printing out pictures all of his favorite sports teams and hobbies. Our 8, 6, and 4 year olds all cut out the pictures and then stapled them to a ribbon and hung it on the mantle.

I wish I would have taken a picture of them in the creating process cutting, determining an order and taking turns stapling. They were so excited and things even got a little tense as they were trying to make it perfect for their Papi. They couldn't wait to show off their master piece!


I envisioned making it a pendant banner with cardstock and then glueing the pictures on top, but I really wanted the kids to do this on their own. I think it turned out so great and it was a perfect way to celebrate Cole and his favorite things!

I think we might make this 'Favorite Things Banner'  a new tradition in our family! Your birthday is about YOU, right?!

Monday, November 1, 2010

A Quick Birthday Cake

October was a crazy month in our house. It was an endless 31 days of colds, dr's appointments, expected and unexpected traveling, and a surgery for my husband!

Our daughter had her birthday a week ago and had requested a Dora birthday cake. She had talked about this cake all month and I had great plans to make a fabulous fondant cake of Dora's adorable round face.

But then my grandfather passed away and I decided to travel the 3,000 miles back across the US (by plane of course) to the funeral. The funeral was on my daughter's birthday so we had to celebrate a few days early.

So all fondant plans went out the window and I made a cake from a box and slapped on some store bought frosting (not my favorite - a fab homemade butter cream recipe can be found here).

Then I got to decorating by cutting Dora out of a fruit snacks box and sticking her in the cake along with some fake flowers.  To finish out the look I took some green paper and cut it into grass to decorate the bottom of the cake.

She was thrilled with the result and happy to have her Dora cake for her 3rd birthday!

So next time you are in a jam like I was just look in your cupboards and toy box to find your cake topper decorations!


Wednesday, September 15, 2010

Gifts for a One Year Old

Remember the watermelon cake? That was for our one year old daughter's birthday. Did you know we didn't spend a single penny for any of her gifts? Here's how.

We Shopped Around The House. Simple as that.

With three older siblings and plenty of baby toys we saw absolutely no reason to spend any money or bring any more toys into our home.

The three older children LOVED looking around the house for toys of their own to give to the baby and enjoyed helping wrap them. They didn't seem to mind giving her their stuffed animals and quickly figured out that they would still be able to use them too. They also wrapped up a few of the toys the baby already played with and knew she loved! We also brought the little push car in from outside and gave it a good scrubbing. It's something that we've had around for quite sometime and is perfect for a one year old.

Do you think the baby noticed or minded that she was getting hand-me-down gifts? You be the judge.


Not a bit!

So next time you are in need of a gift for a one year old just take a peak around your house and see what you can find. I'm guessing you won't need to take a trip to the store and your wallet will stay a little fatter that month.


Monday, August 16, 2010

Watermelon Cake


My baby had her first birthday this weekend. When I saw this watermelon cake on Betty Crocker I knew it was the one. Simple, colorful and cute!

Watermelon Cake
adapted from Betty Crocker

1 strawberry cake mix - eggs, water and oil as called for on box
2 cubes butter - room temperature
2 lbs powdered sugar
1tsp vanilla
1 tbsp - milk
Food coloring (gel food coloring will make dark and bold colors)
1.5 cups miniature chocolate chips

Cake:
1. Make cake as directed on the box. Add a few drops of red food coloring to make the batter darker.
2. Add 1 cup mini chocolate chips to batter.
3. Pour batter evenly into 2 round cake pans.
4. Bake as directed on the box.
5. Let cakes cool before assembling and frosting.


Frost and Decorate:
1. Make butter cream frosting by mixing the butter, powdered sugar and vanilla. Add milk to get desired consistency. For pictures and further instructions on making butter cream frosting click HERE.
2. Divide frosting into 2 bowls  - about 2/3 in one bowl and 1/3 in the other.
3. Add red food coloring to the larger bowl and green to the smaller. Mix thoroughly.
I don't have a cake stand so I just turned over a large plate as my makeshift stand. Put a dab of frosting on the plate to keep the cake from slipping off. Place 1 cake on the plate. If if has a rounded top take a serrated knife and gently level it off.


Cover the cake with a thin layer of red frosting on the top top surface. Place the second cake on top.  Use the remaining red frosting to cover just the top portion of the cake.. Go slow and try not to drag crumbs. (Freezing your cake a few hours before you frost it will help keep the crumbs under control.) 


Use the green frosting to frost along the edge of the cake. Add mini chocolate chips to the top of the cake! (To give the cake even more texture you could press green jelly beans into the green frosting.)


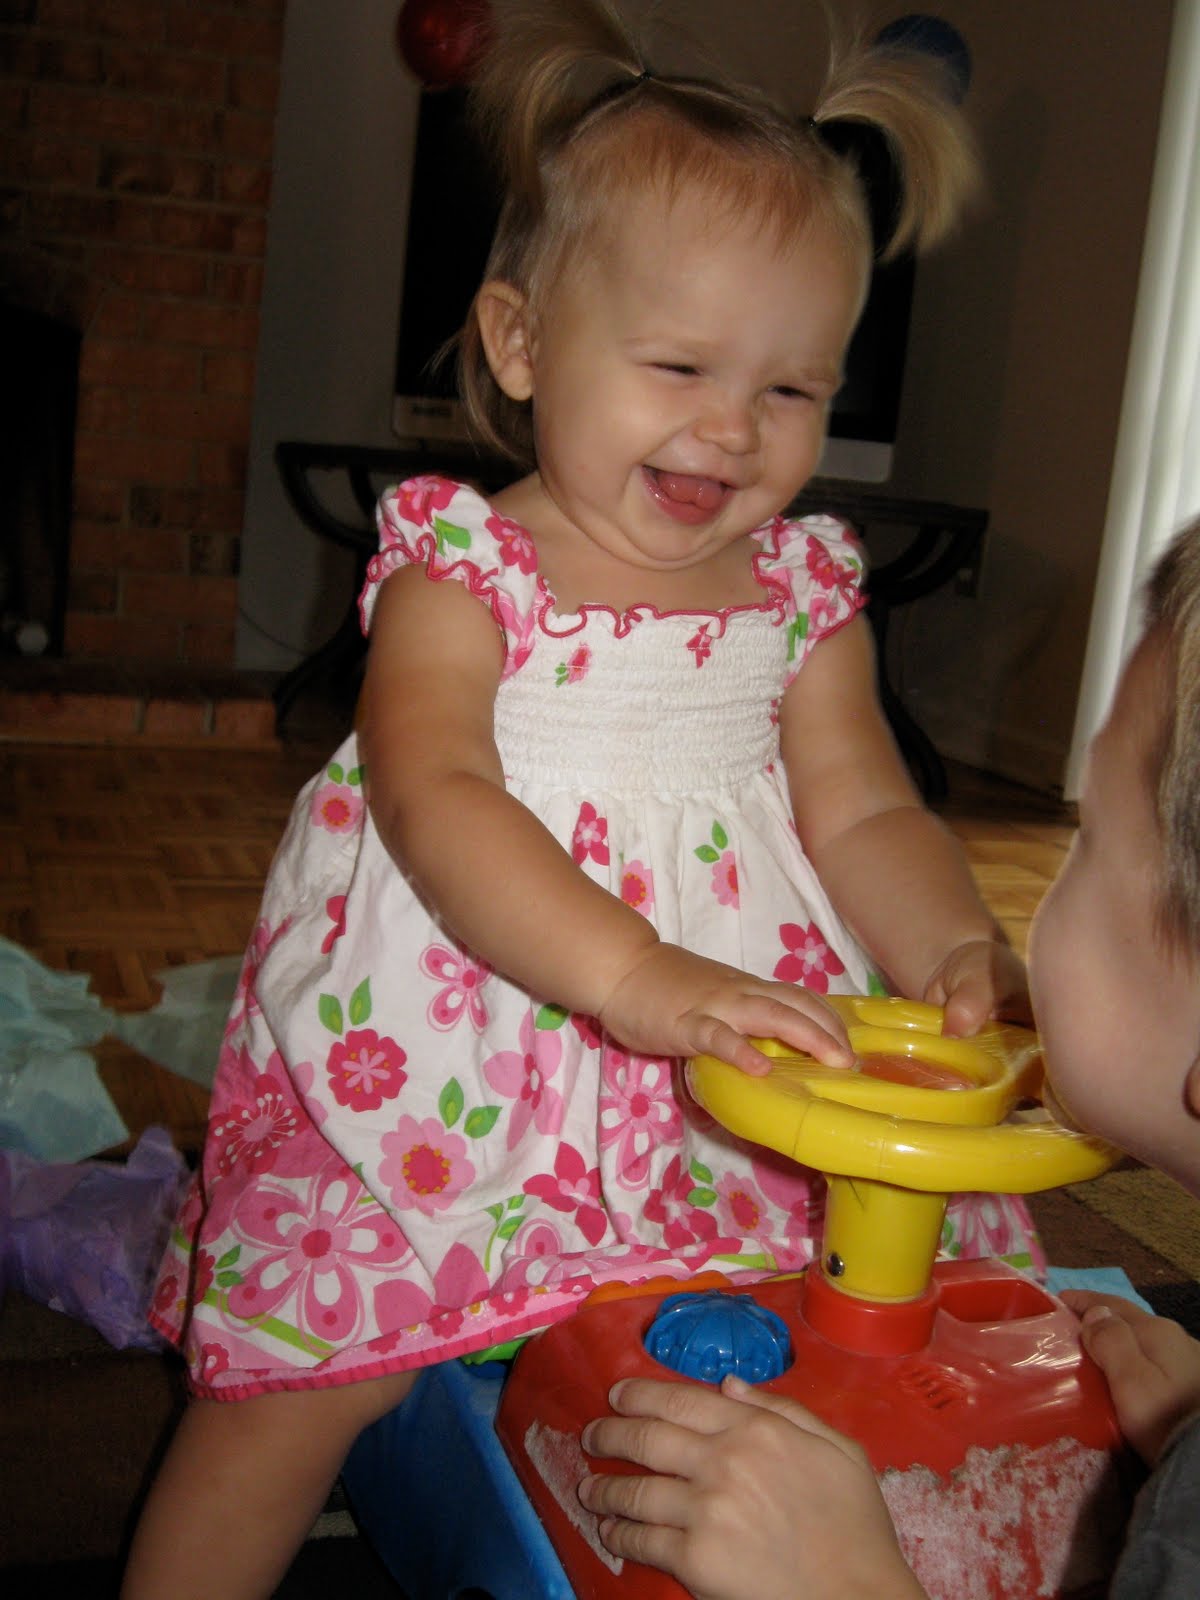
Here's the birthday girl enjoying her cake. No messy face or hands here. She'd only poke her fingers in it. 


LinkWithin

Related Posts with Thumbnails