Showing posts with label Strawberry. Show all posts

Monday, July 5, 2010

Strawberry Rhubarb Streusel Pie

My friend Heidi and her kids came over to swim last week. She was kind enough to bring me some food from her garden, rhubarb being one. She told me it would be enough for a strawberry rhubarb pie. 

I haven't had rhubarb pie since I was a kid. I'm pretty sure my grandma made it for a family gathering once. I have no recollection if I liked it or not. 

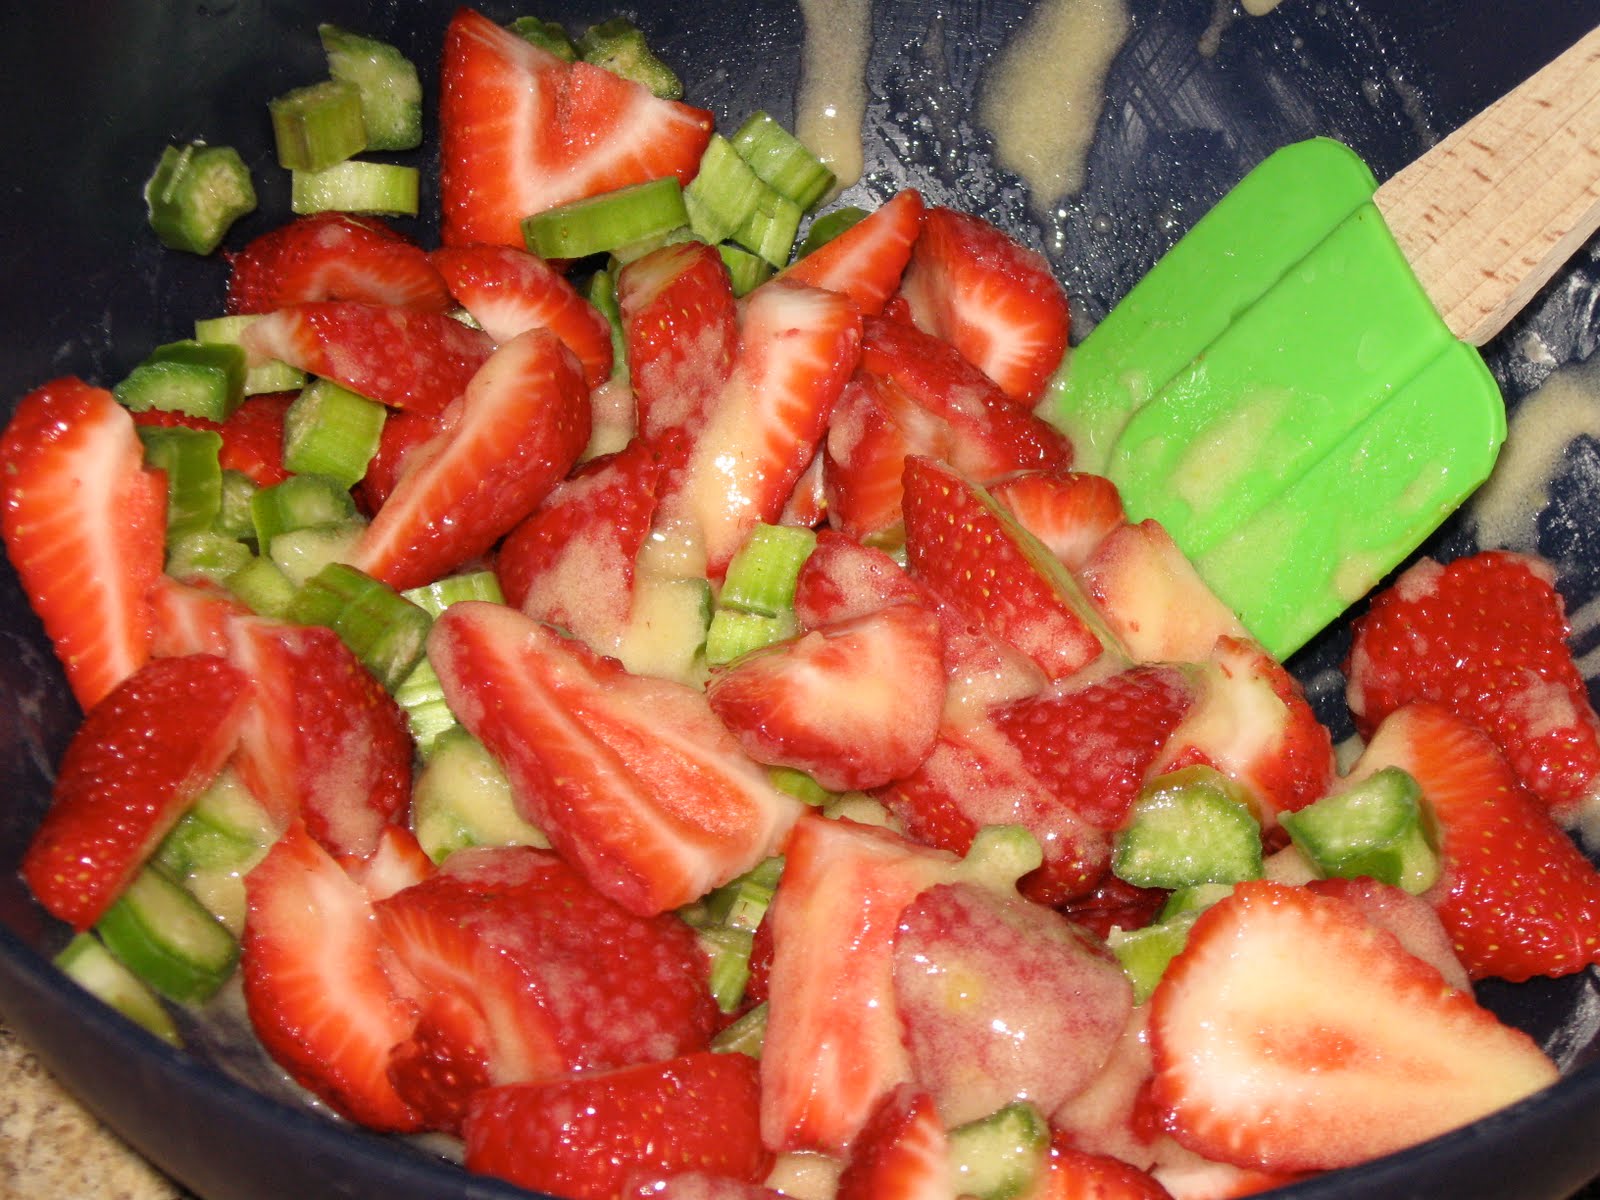
When I told my husband that I was going to make a strawberry rhubarb pie to take to a friends house this weekend he gave me a strange look.  He's never had it before. When he tasted a small piece of the celery looking type veggie (yep, it's a vegetable) he really looked at me weird. Rhubarb may look like celery and have a very tart taste, but it makes one amazing strawberry rhubarb pie. 

Everyone loved it and we had seconds and thirds. Go find some rhubarb and make yourself a pie. It's so good! 

The recipe I'm sharing comes right from Heidi's own recipe blog, Tasty Sensations. Check out all her fabulous recipes.

Strawberry Rhubarb Streusel Pie

1 egg

3/4 cup sugar

2 tablespoons all-purpose flour

1 teaspoon vanilla extract

1/2 pound fresh rhubarb, cut into 1/2 inch pieces
2.5 cups fresh strawberries, halved
1 (9 inch) unbaked pie shell (or go ahead and make it yourself.)

Streusel Topping
3/4 cup all-purpose flour
1/2 cup packed brown sugar
1/2 cup quick-cooking or rolled oats
6 TBS chilled butter

Directions
1. In a large mixing bowl, beat egg. Add the sugar, flour and vanilla; mix well. Gently fold in rhubarb and strawberries. Pour into unbaked pastry shell. 

2. For topping, combine flour, brown sugar and oats in a small bowl; cut in butter until crumbly. Sprinkle over fruit. Bake at 400 degrees F for 10 minutes. Reduce heat to 350 degrees F bake for 45-50 minutes or until golden brown and bubbly (I wrapped mine with foil halfway through to prevent the crust from over-browning). Cool on a wire rack.


Thursday, July 1, 2010

Watermelon Berry Star

Here is another easy, fun, and festive patriotic treat for this coming weekend. Nothing says summer more than watermelon and berries.  Happy 4th of July!!

Ingredients:
1 Large watermelon
Cool Whip
Blueberries
Strawberries

Cut a three-inch thick slice from the center of a watermelon. Place it flat on a cutting board and use a sharp kitchen knife to cut a star shape. (I printed out a star to use as a template.) Pat the watermelon dry with a paper towel.


Place the star on your serving dish or cake stand. Pipe some cool whip around the bottom edge of the star. I put some into a plastic bag and cut off the tip to pipe it out. Spread additional cool whip on the top of the watermelon. Decorate with berries as desired!


Wish I could claim this star idea as my own. I saw a picture of this on my apartment newsletter this week, but there wasn't a source. It was so simple and the watermelon and berries taste amazing together!

Sunday, June 27, 2010

Dessert Pizza - Flag Style

After I had my fourth baby last summer a friend was kind enough to bring our family a meal. With that meal included the most amazing dessert. After I took the first bite, before dinner of course, I wanted to hide it all for myself. It was sweet, creamy and fruity.

When I asked my friend for the recipe she told me it was "just dessert pizza." Just dessert pizza?! It's amazing. It's so good and easy I make it all the time.

Somehow my husband nor I grew up with this fine treat. Just in case you've missed out on this deliciousness too I wanted to share the recipe with you!


Dessert Pizza - Flag Style
2 tubes sugar cookie dough
2 packages cream cheese, soft
2/3 cup sugar
Blueberries
Strawberries
Jelly Roll Pan

The Cookie:
Preheat oven to 350 degrees.
Press the cookie dough into a greased jelly roll pan.
 Leave a small space around the edge. The dough will expand.
Bake for 12-15 until golden brown.
Once cooled I cut around the edge of the cookie to make it even.


The Frosting:
 Cream the sugar and cream cheese together. 
Once the cookie is completely cooled spread the cream cheese on the cookie.

The Fruit:
Use the blueberries and strawberries to make your stars and stripes.

Variations:
For a 9x13 pan half the recipe.
Round pizza pans are fun to use too.
Any type of fruit for this is delicious.
We also like kiwi, bananas, & peaches.


We decorated our pan with some fun patriotic paper!


Sunday, June 13, 2010

Homemade Strawberry Freezer Jam

Don't you love strawberry season?! The smell, the taste and they look so pretty. My kids just wiped out our last jar of homemade strawberry jam so it was time to make more.

Although we didn't go out and pick strawberries like I did with my family when I was a kid the grocery stores are having pretty good sales right now so I picked up a ton of strawberry's to make a double batch of homemade freezer jam.

If you've never made freezer jam before now is the time to start. It's so easy and takes only 3 ingredients - strawberries, sugar and pectin. You're family will love you for it! (You will also need plastic/Tupperware containers - whatever size will fit in your freezer easily will be just fine).

The first thing you'll need to get is your pectin. I prefer the Sure Jell brand as it only uses strawberries, sugar and pectin (some other brands use corn syrup and lemon juice as well). Pectin can usually be found in these areas of the grocery store - near the berries, in the kitchen supplies area, or near the plastic wrap. Don't be afraid to ask if you can't find it. Regardless of the brand you choose turn the box over and it will tell you what ingredients you need to buy. If you want you could open the box and look over the instructions . . . as long as you buy the box of course.


The instructions on the box will tell you everything you need to know - from how many pounds of strawberries and sugar you'll need to pinpoint directions on putting it all together. It really is so easy to do and something that even your kids can help you with too. Look on your instructions for the Quick & Easy Freezer Jam recipe and follow each step. You'll be done before you know it.

Each brand has you do things slightly different but here are the general steps I took using the Sure Jell brand pectin.

Wash and remove the stems from your strawberries. I also cut mine in half or quarters as you can see above. Then you'll need to mash or puree your berries to your liking. I use my blender as my kids aren't fans of chunky jam so we make our strawberry jam rather smooth. You'll need to measure out your mashed/pureed berries according to your directions and put them in a big bowl.

The next step is to add the sugar and it will seem like a lot but that's what makes it so good right?! My instructions said to mix the sugar all in and then let it sit for 10 minutes stirring occasionally.

Once your berry/sugar mixture has been sitting for a few minutes you'll need to get your pectin ready to go. You'll measure the water according to your directions and add the pectin and water to a sauce pan. You'll stir this mixture over high heat and boil for one minute. Once the 10 minutes is up for the strawberry/sugar mixture you'll add the pectin mixture to the bowl of berries and stir for 3 minutes or until the sugar has dissolved.


Now your jam is done and ready to be poured into your plastic containers. How easy was that?! You'll need to leave your jam containers out on the counter for 24hrs and then they are ready to put in the freezer. Of course you'll want to put one in the fridge so you can enjoy it right away.

I made a double batch and used 4 cups of pureed berries and was able to fill 5 medium and 3 small containers. This obviously won't last our family of 6 a full year, but I've got to save room in our small freezer for making some raspberry and peach jam too. Homemade jam is so good. Yum!

LinkWithin

Related Posts with Thumbnails