

Here's what you need:
- 2 Placemats
- 1 spool of ribbon
- Thread
- A few pins
- Sewing Machine
That's it. I got all my supplies at Walmart. The placemats where s $1 each and the ribbon $2.97 - only $5.00 for a new fun homemade bag!

Here's what you do:
1. Cut off a few inches ( I took off 3) from the length of your placemats.

2. Fold under 1/4 inch than another 1/4-1/2 inch so all those frayed ends are tucked inside. Then sew to hem and secure. This will be the top edge of your bag. (Make sure your thread matches your bag here.)

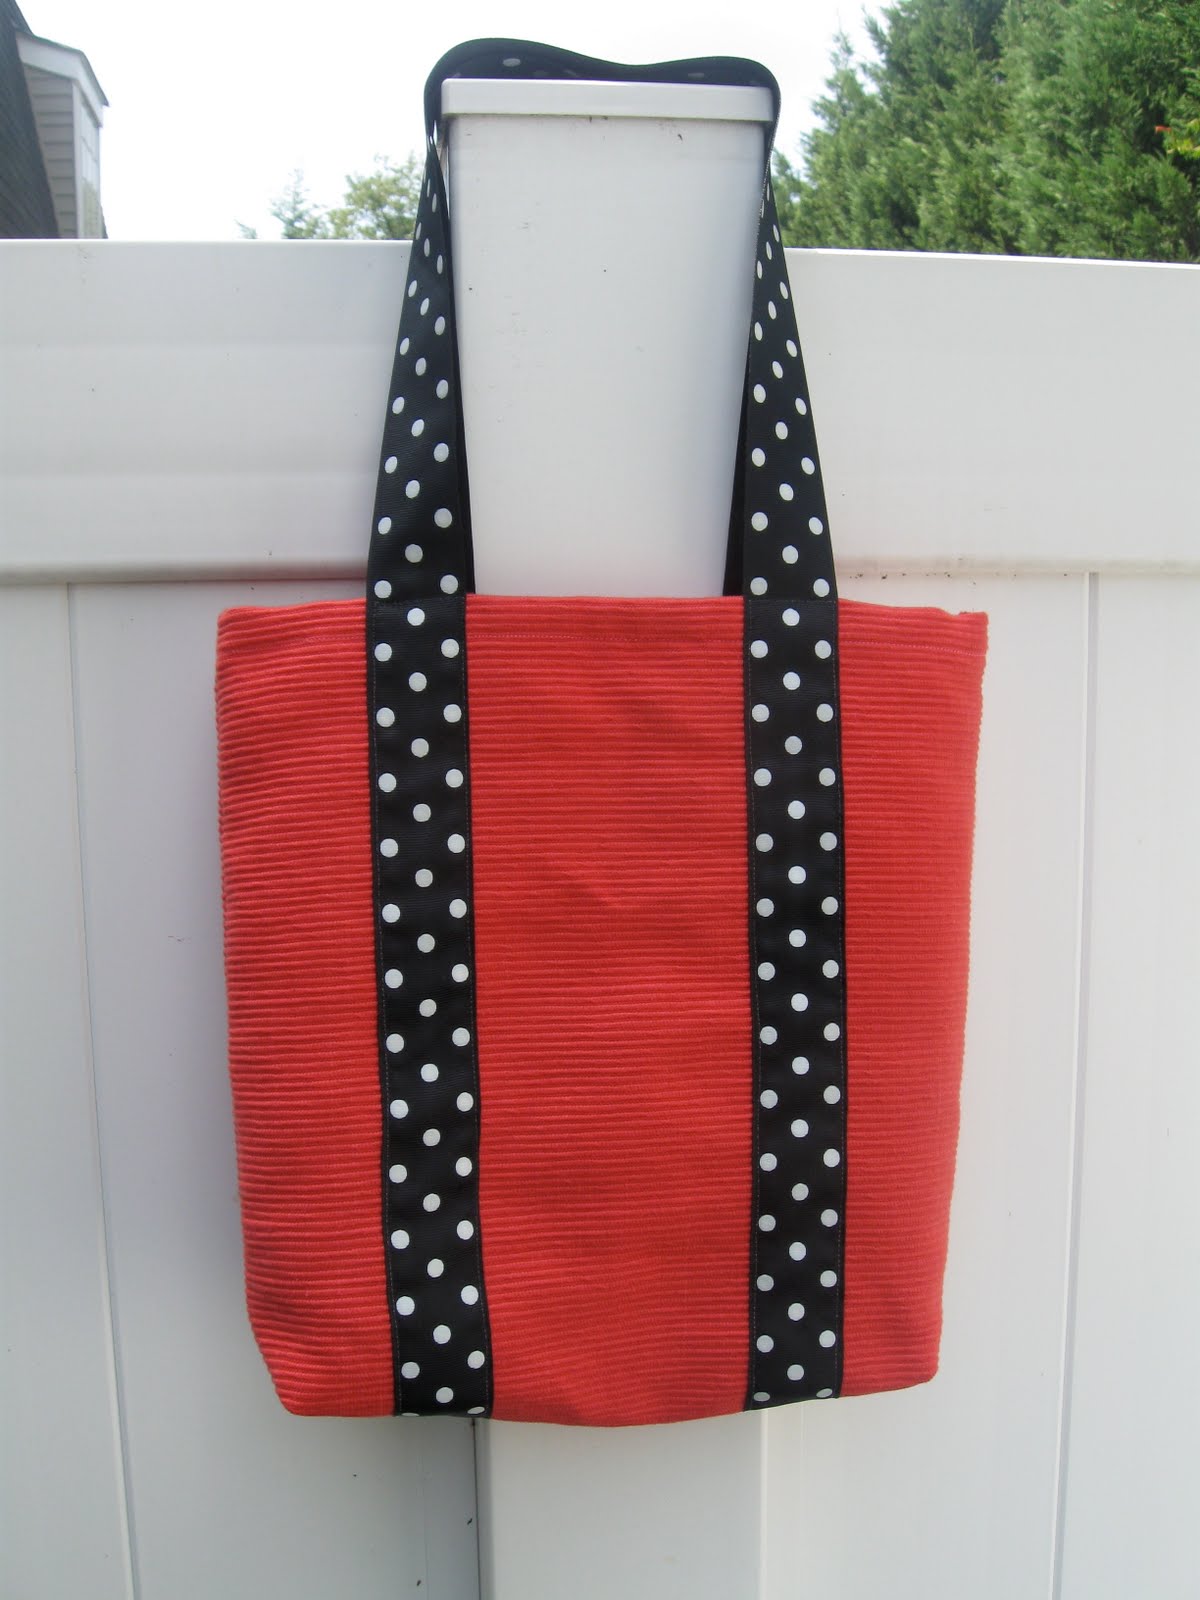
3. Cut your spool of ribbon in half. Lay the ribbon out from the bottom of the placemat up and around to make the handle for each mat. To ensure your ribbons are going to match up measure 3-3.5 inches from the outer edge on both sides. Pin the ribbon in place.
Once pinned lay the two placemats with right sides together and check to make sure that the ribbons line up correctly at the bottom, so once you complete the project everything will be lined up and matching.

4. Carefully sew the ribbon on to each placemat sewing very close to the edge on each side of the ribbon.

5. Put the placemats right sides together. Line up the bottom ribbons and pin the two sides and bottom. Sew the edges together about 1/4 inch from the edge.

6. To square off the bottom you need to pull the sides of the bag away from each other. Then you will grab one corner and squish the bottom and side seams together until they line up. Just feel with your hand to make sure the seams line up and pin in place. (I hope that explains it well enough:) I used pics from another bag I made because they were easier to see. Let me know if you have questions.)


7. Sew about 2 inches in from the "triangle tip". Repeat on the other side.


For the blue bag I didn't cut the placemats at all.
I simply made a few folds and then attached the ribbon on the inside to give it a different look.

So very cute! I have made a few placemat bags, but never this style....this is so simple you can bet I'll whip up a few for the fall craft shows!! Thx!
ReplyDeleteThese bags are adorable, so nice looking and handy! I can't wait to try making one!
ReplyDeletehi, your bags are very cute! i wanna made this for me too...thanks for tutorial!
ReplyDelete